Bows made from ribbons are a beautiful and versatile decorative element, perfect for gift wrapping, hair accessories, home décor, and festive occasions. Whether you’re looking to create a simple, elegant bow or an elaborate multi-layered design, this guide will walk you through various methods to how to make a bow out of ribbon.
Why Make how to make a bow out of ribbon?
Making a bow out of ribbon allows for creative freedom and personalization. Here are some common reasons to create a ribbon bow:
- Gift Wrapping – Elevate your gift presentation with a handmade bow.
- Hair Accessories – Add a charming bow to hairbands, clips, or scrunchies.
- Wedding & Party Decorations – Bows enhance floral arrangements, chair backs, and table settings.
- Seasonal Décor – Christmas trees, wreaths, and holiday centerpieces look stunning with ribbon bows.
- Craft Projects – Handmade greeting cards, DIY projects, and scrapbooks benefit from elegant ribbon bows.
Now, let’s dive into various techniques for how to make a bow out of ribbon.
Materials Needed
Before you start, gather the following materials:
- Ribbon – Satin, grosgrain, wired, sheer, or velvet ribbons work well, depending on your preference.
- Scissors – Sharp scissors ensure clean edges.
- Glue (optional) – A hot glue gun or fabric glue helps secure the bow.
- Wire (optional) – Thin floral wire or twist ties work for structured bows.
- Tape (optional) – Double-sided tape can secure the bow to gifts or decorations.
Different Methods to Make a Bow
1. The Classic Bow (Simple and Elegant)
The classic bow is similar to tying shoelaces and is perfect for gift wrapping and crafts.
Step-by-Step Instructions:
- Cut the Ribbon: Use a ribbon about 12–18 inches long.
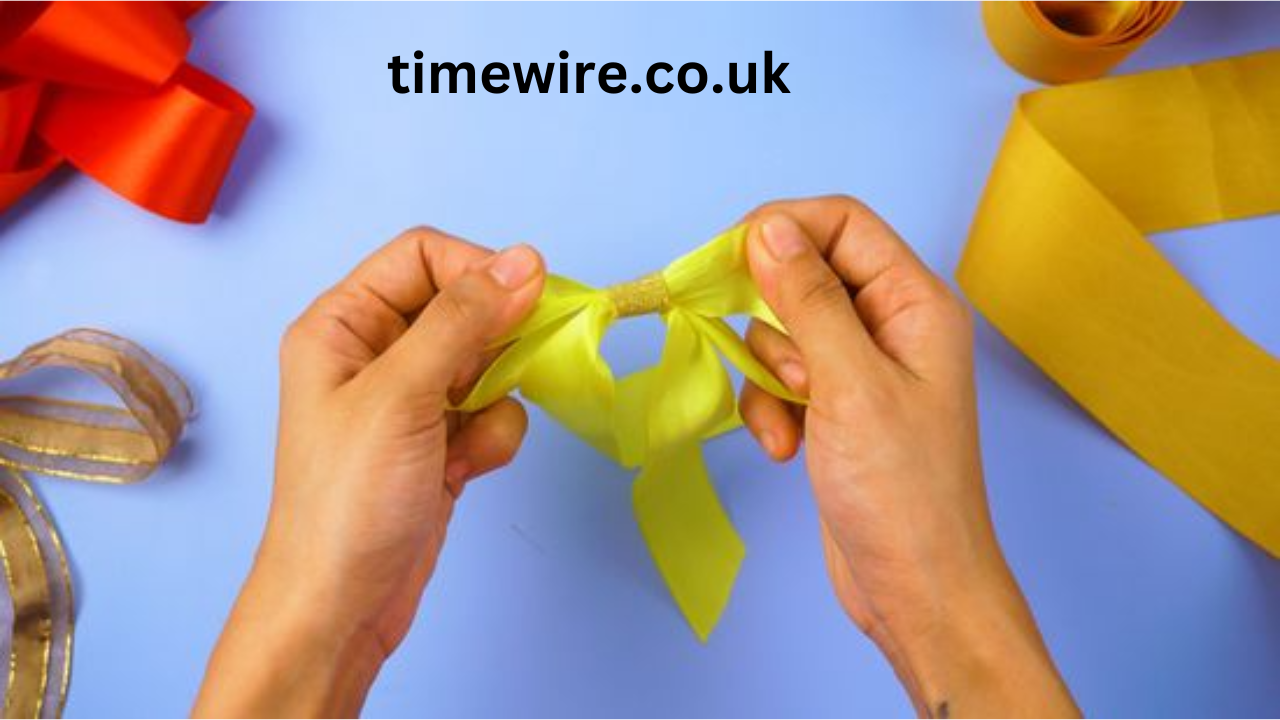
- Form Two Loops: Hold each end of the ribbon and create two loops (bunny ears).
- Cross and Tie: Cross one loop over the other and pull it through, just like tying shoelaces.
- Adjust the Size: Gently pull the loops and tails to get the desired shape.
- Trim the Ends: Cut the ribbon tails diagonally or in a V-shape for a polished look.
Pro Tip: If using wired ribbon, fluff the loops to give it a fuller appearance.
2. The Double Loop Bow (For Extra Fullness) how to make a bow out of ribbon
A double-loop bow is ideal for making fuller and fancier bows.
Step-by-Step Instructions:
- Cut the Ribbon: Measure a long piece of ribbon (about 24 inches).
- Make Two Loops on Each Side: Instead of a single loop, make two loops on each side.
- Tie the Center: Secure the middle with a smaller ribbon or floral wire.
- Adjust and Fluff: Fan out the loops and trim the tails neatly.
Best Used For: Hair accessories, decorative gift wrapping, and floral arrangements.
3. The Layered Bow (For a More Elaborate Look)
If you want a bow with multiple layers, this is the perfect method.
Step-by-Step Instructions:
- Cut Three Pieces of Ribbon: One long, one medium, and one short piece.
- Form Loops with Each Ribbon: Create a loop with each piece, securing the ends at the center.
- Layer the Ribbons: Place the largest loop at the bottom, followed by the medium, then the smallest.
- Secure the Center: Use a small ribbon, floral wire, or glue to hold everything together.
- Fluff the Loops: Adjust the loops to create a full, layered bow.
Previous article; How to Tie a Bow Tie A Complete Guide
Best Used For: Holiday decorations, wedding décor, and elegant gift wrapping.
4. The Pom-Pom Bow (Big and Fluffy)
This bow is perfect for large presents or decorative wreaths.
Step-by-Step Instructions:
- Cut a Long Ribbon: At least 3-4 feet, depending on how large you want the bow.
- Make Loops: Fold the ribbon back and forth to create multiple loops.
- Secure the Center: Use floral wire or a thin how to make a bow out of ribbon to tie the middle tightly.
- Fluff the Loops: Pull and spread each loop outward to create a pom-pom effect.
- Trim the Tails: Cut the ends neatly for a finished look.
Best Used For: Large gift boxes, Christmas decorations, and wedding décor.
5. The Tailored Bow (For a Professional Look)
The tailored bow looks structured and neat, often used in luxury gift wrapping.
Step-by-Step Instructions:
- Cut Three Ribbon Pieces: One long piece for the bow, one short piece for the center, and another for the tails.
- Form a Loop with the Long Ribbon: Bring both ends to the center and glue or stitch them together.
- Wrap the Center Piece: Wrap the short ribbon around the center and secure it at the back.
- Attach the Tails: Glue the final ribbon piece to the back for elegant tails.
Best Used For: Corporate gifts, boutique packaging, and luxury décor.
Additional Tips for Making Perfect Ribbon Bows
- Choose the Right Ribbon: Wired ribbons hold their shape better, while satin ribbons give a softer, more elegant look.
- Use Double-Sided Ribbon: This ensures that both sides of the bow look great.
- Secure the Center Properly: If using glue, let it dry completely before handling the bow.
- Fluff and Adjust: Spread out the loops to give the bow more dimension and volume.
- Use Matching Colors: If layering different ribbons, choose complementary colors for a stylish effect.
Common Mistakes to Avoid how to make a bow out of ribbon
- Cutting Uneven Tails – Always use sharp scissors and measure before cutting.
- Not Tightening the Center – A loose center results in a floppy bow. Secure it properly with wire or glue.
- Using Short Ribbon – Ensure you have enough length to create beautiful loops.
- Not Adjusting Loops – Take the time to fluff and shape your bow for a professional look.
Creative Ways to Use Ribbon Bows
- On Gift Boxes: Elevate any present with a decorative bow.
- For Party Décor: Attach bows to chairs, table centerpieces, and floral arrangements.
- In Hair Accessories: Glue bows to hairbands or clips for a cute touch.
- On Wreaths: Add a large bow to a holiday or floral wreath for a festive look.
- As Christmas Ornaments: Use bows to decorate the tree or stockings.
- For DIY Projects: Enhance scrapbooks, greeting cards, and handmade crafts with ribbon bows.
Conclusion
How to make a bow out of ribbon is a fun and easy way to add a stylish touch to any decoration, gift, or accessory. Whether you prefer a classic, fluffy, or structured bow, the techniques outlined in this guide will help you create the perfect bow for any occasion.
Experiment with different ribbon types, colors, and sizes to craft beautiful bows that suit your needs. With a little practice, you’ll be able to create professional-looking bows effortlessly!