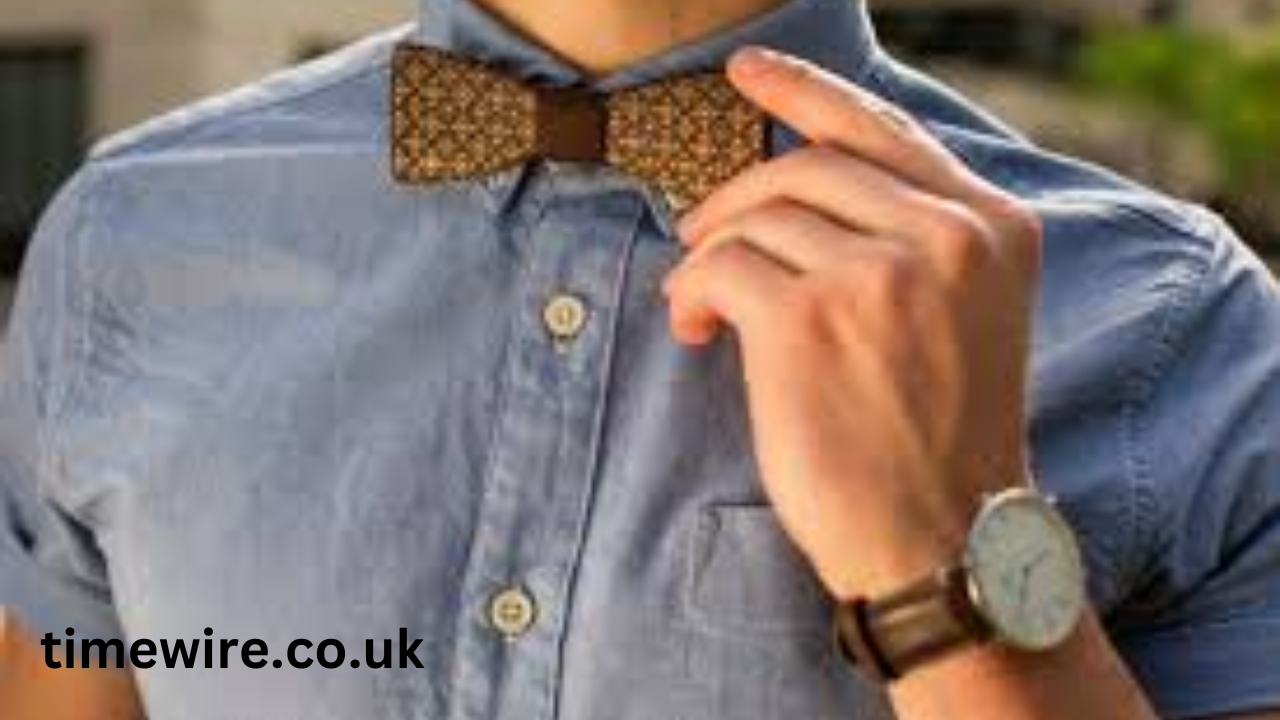
Tying a bow tie is a skill that exudes elegance, sophistication, and a touch of classic style. Unlike the pre-tied versions, a self-tied bow tie adds a personal touch to your outfit, making it perfect for formal events, weddings, and even casual stylish looks.
If you’ve ever struggled how to tie a bow tie, don’t worry—you’re not alone! It can seem complicated at first, but with patience and practice, you’ll master it in no time. This comprehensive guide will walk you through every aspect of tying a bow tie, including step-by-step instructions, helpful tips, common mistakes to avoid, and the history of this timeless fashion accessory.
A Brief History of how to tie a bow tie
Before we dive into the actual process of tying a bow tie, it’s worth understanding its origins. The bow tie dates back to the 17th century when Croatian mercenaries used a piece of cloth to secure the collars of their shirts. This practical neckwear caught the attention of the French, who refined it into the cravat—a precursor to the modern how to tie a bow tie and necktie.
By the 19th century, the bow tie had evolved into its recognizable form and became a staple of formal fashion, worn by scholars, politicians, and gentlemen. Today, bow ties remain a symbol of elegance, worn by style-conscious individuals across different occasions.
Why Learn to Tie a Bow Tie?
While clip-on and pre-tied bow ties are available, learning to tie your own bow tie has several advantages:
- Authenticity: A self-tied bow tie has a more natural and stylish look.
- Versatility: You can adjust the size and shape to your preference.
- Prestige: It shows that you care about the details of your outfit.
- Timeless Appeal: Mastering this skill gives you an edge in fashion.
Now, let’s get into the actual process!
Step-by-Step Guide to how to tie a bow tie
Step 1: Drape the Bow Tie Around Your Neck
- Stand in front of a mirror and place the bow tie around your neck.
- Ensure that one end (A) is slightly longer than the other (B). The longer end should be on your right side.
Step 2: Cross the Longer End Over the Shorter End
- Cross the longer end (A) over the shorter end (B), forming an “X” shape at the front of your neck.
- Pull (A) under (B) and up through the neck loop.
- Tighten it slightly, creating a loose knot at your collar.
Step 3: Form the First Bow Shape
- Take the shorter end (B) and fold it horizontally into a bow shape.
- Hold this bow shape in place with your fingers, as it will form the front part of your bow tie.
Step 4: Bring the Longer End Down the Middle
- Allow the longer end (A) to drape down over the center of the bow shape.
- This longer piece will soon be tucked behind the bow to complete the tie.
Step 5: Create the Second Bow Loop
- Fold the longer end (A) horizontally, forming a second bow shape.
- Push this folded portion through the loop behind the first bow shape.
Previous article; Axe Inferno End Loaded 28oz The Ultimate Power Hitter’s Bat
Step 6: Adjust and Tighten the Bow Tie
- Gently pull both loops to tighten the knot in the middle.
- Make small adjustments to balance both sides of the bow.
- Straighten the how to tie a bow tie by slightly pulling at the loops and tightening the knot if necessary.
Congratulations! You have successfully tied a bow tie.
Common Mistakes to Avoid
Even with clear instructions, tying a bow tie can be tricky. Here are some common mistakes and how to avoid them:
1. Uneven Bow Size
- If one side is bigger than the other, adjust the loops before tightening.
2. Over-Tightening the Knot Too Soon
- Always ensure the bow is balanced before fully tightening the knot.
3. Incorrect Folding of the Bow Loops
- Make sure both loops are neatly folded and aligned for a symmetrical look.
4. Using the Wrong Bow Tie Size
- Ensure the bow tie fits your neck size comfortably; it shouldn’t be too tight or too loose.
Different Types of how to tie a bow tie
Not all bow ties are the same! Here are the three main types:
- Butterfly Bow Tie: The classic style with wide, rounded edges.
- Batwing Bow Tie: A slimmer, straight-edged design for a modern look.
- Diamond Tip Bow Tie: Features pointed ends, adding a unique flair.
Each style has its charm, so choose one that suits your outfit and occasion.
When to Wear a Bow Tie
Bow ties are not just for formal events. Here are some great occasions to wear one:
1. Formal Events
- Weddings, galas, and black-tie dinners are perfect settings for a classic bow tie.
2. Business and Workwear
- If you want to make a sophisticated impression, a bow tie paired with a blazer or suit is a great choice.
3. Casual Outfits
- A bow tie with a button-down shirt and suspenders creates a trendy, vintage look.
4. Themed Parties & Holidays
- Holiday parties and themed events often call for playful bow tie designs.
How to Choose the Right Bow Tie
1. Fabric Matters
- Silk: Ideal for formal occasions, offering a smooth and luxurious finish.
- Cotton or Linen: Great for casual looks.
- Velvet: Best for winter and elegant evening wear.
2. Color & Pattern
- Solid colors like black and navy are timeless.
- Bold patterns (stripes, polka dots) add personality.
3. Matching with Your Outfit
- A bow tie should complement your suit, shirt, and accessories.
Conclusion
Mastering how to tie a bow tie is a valuable skill that enhances your style and sets you apart from the crowd. While it may take a few attempts to perfect, practice will make it second nature. Whether you’re dressing up for a wedding, a black-tie event, or simply adding a stylish twist to your outfit, a well-tied bow tie is always a great choice.